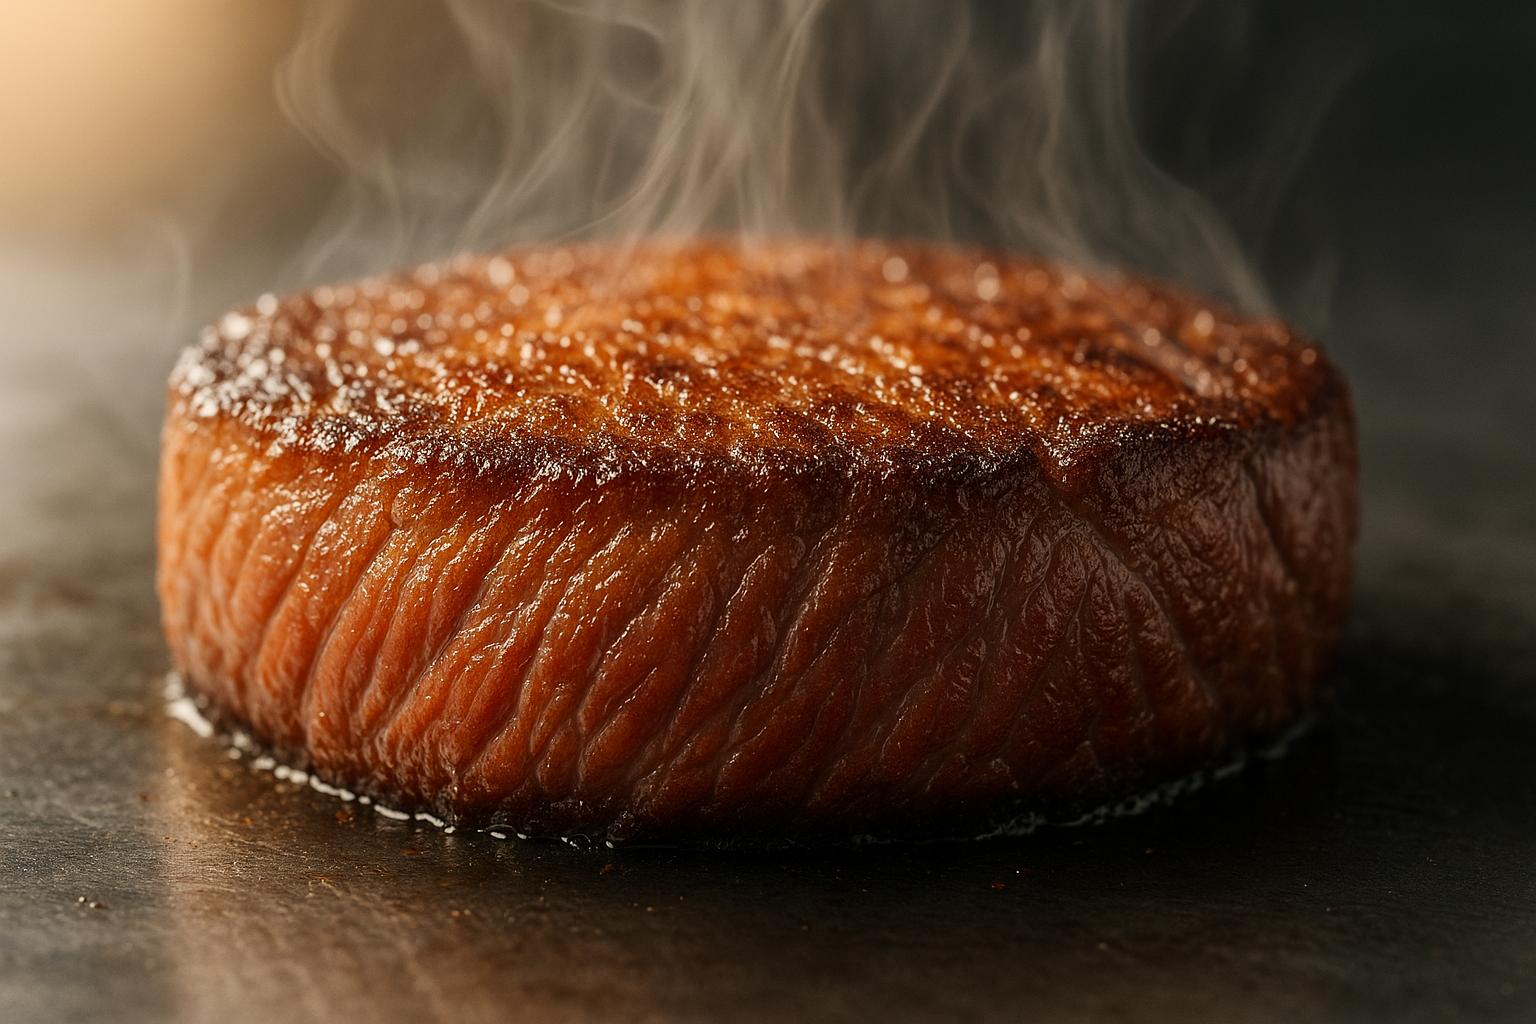
When you sear cultivated meat, you’re not just cooking - it’s a science-backed way to boost flavour and texture. The high heat creates a golden crust through the Maillard reaction, which produces rich, savoury flavours. This process works similarly to conventional meat but requires slight adjustments due to differences in fat and moisture levels.
Key points:
- Maillard Reaction: High heat (140–165°C) browns the surface, creating deep, complex flavours.
- Fat Role: Cultivated meat’s customisable fat content affects browning and flavour.
- Moisture Balance: Drying the surface ensures proper crust formation without steaming.
- Cooking Tip: Use high-smoke-point oils (e.g., avocado or sunflower oil) and a cast iron pan for the best results.
Searing not only enhances taste but also creates a satisfying contrast between a crispy crust and a juicy interior. Adjusting your cooking technique slightly can help you achieve restaurant-quality results at home.
How To Master The Maillard Reaction & Sear Meat Perfectly | Epicurious 101
How Searing Improves Flavour in Cultivated Meat
Searing changes the surface of cultivated meat through chemical reactions, forming a tasty crust. These processes work the same way in cultivated meat as they do in traditional meat.
The Maillard Reaction: Building Flavour
The Maillard reaction is the main chemical process responsible for the rich, savoury flavours we associate with a well-seared piece of meat. It happens when the amino acids and reducing sugars in cultivated meat interact under high heat, usually above 140°C (285°F) [2][4].
As the meat sears, this reaction produces a mix of flavour compounds that create the distinctive aroma and taste of browned meat. It’s worth noting that this is different from caramelisation. While both involve browning, the Maillard reaction specifically works with amino acids and sugars, resulting in deeper, more complex flavours rather than just sweetness [4].
The ideal temperature range for the Maillard reaction is between 140–165°C (285–330°F) [2][4]. Initial tests indicate that cultivated meat can develop a similar crust and flavour complexity when properly seared, though the exact results depend on factors like its formulation and fat content [1].
For an extra layer of flavour, finishing with butter and aromatics like garlic or rosemary can enhance browning. This is due to the milk solids in butter participating in the reaction [2][4]. Additionally, the fats in the meat play a crucial role in amplifying these flavours.
The Role of Fats in Flavour Development
After the Maillard reaction, fats step in to further enhance the flavour. Fats are essential for adding richness and satisfaction to the taste of seared meat. As cultivated meat heats up, its fats melt and interact with the Maillard reaction products, deepening the flavour profile [3][4].
One advantage of cultivated meat is that its fat content can be customised during production. This allows producers to fine-tune the fat distribution, aiming to replicate the flavour and texture of traditional seared meat [1].
Taste panels and early product reviews consistently rate seared cultivated meat higher in flavour, aroma, and overall satisfaction compared to unseared versions. This is largely thanks to the Maillard reaction and the flavours that fats bring to the table [1]. Beyond taste, fats contribute to the appealing contrast between a crisp, caramelised crust and a juicy interior.
As fats render during cooking, they also help distribute heat evenly across the surface. This prevents dry spots and ensures consistent browning, which is especially important when searing cultivated meat at home. Proper fat distribution is key to achieving the best results and elevating the overall eating experience.
Searing and Texture: Creating the Right Crust and Bite
One of the joys of seared cultivated meat is the delightful contrast between its crispy, golden crust and its juicy, tender interior. Getting this just right means understanding how heat works its magic on the surface, while keeping the inside perfectly moist.
How Searing Creates a Flavourful Crust
When cultivated meat meets a hot pan, the surface proteins react immediately. This reaction, combined with the Maillard process, is what creates that rich, browned crust. As the surface dehydrates, it concentrates the flavours, delivering that satisfying crunch. Interestingly, while the process mimics what happens with traditional meat, early trials show that cultivated meat can hold onto its moisture exceptionally well, even while forming a proper crust[1]. The fat within the meat plays a key role here, helping to distribute heat evenly and ensuring consistent browning. Factors like fat content and the structure of the fibres also influence how well the crust develops.
The trick lies in dehydrating the surface just enough to form the crust, without letting the interior overcook. This delicate balance is what makes every bite a perfect blend of crispiness and tenderness.
Balancing Moisture and Heat
Once the crust is formed, managing moisture and heat becomes the next challenge. Too much moisture can cause steam, which stops the meat from browning properly. To avoid this, make sure the meat is dry before it hits the pan. Temperature control is also key, as cultivated meat might behave a little differently from conventional cuts due to variations in fat distribution, moisture levels, or structure. Adjusting searing times based on the thickness and make-up of the product can make a big difference.
A good technique is to start with high heat to quickly form the crust, then lower the temperature to cook the inside evenly. This method works particularly well with cultivated meat, creating that irresistible combination of a caramelised exterior and a soft, juicy interior.
As cultivated meat technology continues to evolve - with improvements in fat marbling, protein structure, and moisture levels - searing at home will only get easier. These advancements will help home cooks create that restaurant-quality crust with less effort, bringing the best of both worlds to the table[1].
sbb-itb-c323ed3
How to Sear Cultivated Meat at Home
Searing cultivated meat at home can be a breeze with the right tools and a few tweaks to your usual method. Since cultivated meat often differs in fat content and moisture levels from traditional cuts, a slightly adjusted approach will help you achieve that perfect golden crust.
Choosing the Right Equipment
The key to a flawless sear starts with the right pan. Cast iron pans are ideal, as they hold heat well and provide an even cooking surface. If you don’t have one, a heavy-bottomed stainless steel pan is a great alternative. Avoid non-stick pans - they can’t handle the high heat required for proper browning.
When flipping the meat, use heat-resistant tongs or a spatula to avoid piercing the surface and losing those precious juices.
Oil choice is just as important. For high-heat searing, go for oils with a high smoke point that can handle temperatures between 200–230°C. Some excellent options include avocado oil, peanut oil, sunflower oil, and grapeseed oil. If you have them, ghee or extra light olive oil also work well. Steer clear of regular olive oil or butter for the initial sear, as they burn easily and can leave a bitter taste.
Preparation and Cooking Steps
Start by patting the meat dry with kitchen paper to remove excess moisture - this prevents steaming and ensures a crispy crust.
Season the meat just before cooking with a simple mix of salt and freshly ground black pepper. You can add herbs or spices if you’re feeling adventurous, but keep it light to let the natural flavour shine.
Preheat your pan over medium-high to high heat until it reaches 200–230°C. You’ll know it’s ready when a drop of water sizzles and evaporates instantly. Add a small amount of your chosen oil and swirl it around to coat the pan evenly.
Place the meat in the pan, laying it down away from you to avoid splatters. Let it sear undisturbed for 2–3 minutes per side, adjusting the time based on the thickness of the cut. For thinner cuts, reduce the searing time to avoid overcooking the inside while still achieving a good crust. For thicker cuts, try the reverse-sear method: cook the meat slowly at a lower temperature first, then finish with a high-heat sear to get that perfect crust without drying out the interior.
Since cultivated meat may have less marbling or surface fat than conventional meat, the browning pattern might look a little different. If the cut seems particularly lean, add a small knob of butter during the final moments of searing. This boosts both flavour and browning.
Be sure not to overcrowd the pan, as this can lower the heat and result in uneven cooking. Stick to your high-smoke-point oils to avoid burning and unwanted flavours.
Once you’ve achieved that beautiful sear, let the meat rest for a few minutes before serving. This allows the juices to redistribute, ensuring every bite is tender and flavourful. These small adjustments make all the difference in bringing out the best in cultivated meat.
For more guidance, check out the resources offered by Cultivated Meat Shop, which provides practical tips for UK home cooks as this exciting food category evolves[1].
Searing Results: Cultivated Meat vs Conventional Meat
When it comes to searing, cultivated meat and conventional meat share some similarities, but there are notable differences that can help home cooks refine their approach. While both types of meat undergo the same fundamental cooking process, subtle variations emerge that affect the final result.
Main Differences in Searing Results
The Maillard reaction, responsible for that golden-brown crust we all love, occurs in both cultivated and conventional meat. However, factors like fat distribution and moisture retention introduce some differences. For instance, cultivated meat might brown faster if it has less surface fat, or slower if the fat content is adjusted. This means you might need to tweak your searing time depending on the specific product.
One standout feature of cultivated meat is its ability to retain moisture exceptionally well. While this is great for preventing dryness, it could require fine-tuning your cooking time to strike the perfect balance between a crisp crust and a juicy interior. On the other hand, conventional meat's crust formation and browning are more predictable due to familiar fat marbling patterns.
Though the crust and aroma of cultivated meat are comparable to conventional meat, slight variations in appearance and intensity may arise depending on the product's formulation.
Comparison Table of Searing Outcomes
Here’s a handy breakdown of how cultivated meat stacks up against conventional meat during searing:
| Aspect | Cultivated Meat | Conventional Meat |
|---|---|---|
| Crust Formation | Develops a golden-brown crust; texture may vary based on surface composition | Consistent crust with familiar browning patterns |
| Browning Speed | Potentially faster if leaner; slower if fat distribution differs | Predictable browning tied to cut and marbling |
| Moisture Retention | Retains moisture exceptionally well; may need adjusted searing time | Varies by cut; marbling aids moisture retention |
| Flavour Development | Comparable to conventional meat; slight differences in intensity possible | Traditional, well-known flavour profile |
| Visual Appearance | Similar golden-brown colour; shade may vary with formulation | Familiar and consistent appearance |
| Aroma | Comparable aromas with minor potential variations | Classic searing aroma associated with conventional meat |
The bottom line? Cultivated meat performs well during searing, but understanding these subtle differences will help you perfect your technique. As more products hit the market, home cooks will become just as familiar with cultivated meat’s quirks as they are with the various cuts of conventional meat.
Conclusion: Getting the Best from Cultivated Meat Through Searing
Why Searing Matters for Cultivated Meat
Searing plays a crucial role in bringing out the best in cultivated meat. Thanks to the Maillard reaction, the surface develops a golden-brown crust bursting with rich, savoury flavours, turning every bite into a satisfying experience. Skip proper searing, and you miss out on the depth of flavour and texture that make cultivated meat shine.
When paired with the right technique, searing elevates cultivated meat to rival traditional options, while also showcasing its eco-friendly advantages. For instance, cultivated steaks and roasts thrive with reverse-searing - a method combining slow cooking with a high-heat finish to lock in moisture and create a crisp crust. On the other hand, burgers and cutlets benefit from a quick, high-heat sear to seal in their juiciness[1].
Perfect Your Searing with Cultivated Meat Shop

Want to master the art of searing cultivated meat? The Cultivated Meat Shop is here to help. Designed with UK consumers in mind, the site offers a treasure trove of cooking guides, including step-by-step advice on searing techniques. You’ll also find updates on the latest cultivated meat products available across the UK.
From waitlist sign-ups and product previews to expert tips, Cultivated Meat Shop is your go-to resource for embracing this exciting, sustainable food option. Dive into these tools today and join the growing community of UK cooks redefining how we enjoy meat in a more sustainable way.
FAQs
How should I adjust my cooking technique when searing cultivated meat?
Searing cultivated meat follows a process similar to cooking conventional meat, but there are a few tweaks that can make a big difference in flavour and texture. Because of its uniform structure, cultivated meat cooks more quickly, so it’s important to keep a close eye on the cooking time to avoid overdoing it. Start with a hot pan to create a rich, caramelised crust that brings out the meat's natural flavours.
To get the best sear, make sure to pat the meat dry before cooking - this helps it brown evenly. Then, season with a touch of salt, pepper, or your favourite spices. Since cultivated meat is crafted to mimic the taste and feel of traditional meat, these small steps can help you achieve a delicious and satisfying result every time.
How does the fat content in cultivated meat influence searing and its flavour?
The fat content in cultivated meat is a game-changer for both cooking and taste. It plays a major role in the searing process, contributing to that rich, caramelised crust we all love. As the fats render during cooking, they enhance the Maillard reaction - the chemical process responsible for those deep, savoury flavours and the irresistible texture of perfectly seared meat.
One of the perks of cultivated meat is its flexibility when it comes to fat levels. You can choose cuts with higher fat content for a golden, crispy exterior, perfect for indulgent dishes. On the other hand, leaner cuts work well for lighter recipes or meals that call for quicker cooking times. By experimenting with different fat ratios, you can fine-tune the flavour and texture to suit your personal preferences and culinary creations.
How can I sear cultivated meat to create a perfect crust while keeping it tender and juicy inside?
To get that perfect seared crust on cultivated meat while keeping it juicy, start by making sure the meat is completely dry. Use a paper towel to gently pat away any surface moisture - this step is key because too much moisture can stop the browning process in its tracks.
Next, heat a pan over medium-high heat until it’s properly hot. Add a small amount of oil with a high smoke point, like sunflower or rapeseed oil. Once the oil is shimmering, place the cultivated meat in the pan. Be careful not to overcrowd the pan, as this can lower the temperature and affect the sear. Resist the urge to move the meat too soon - let it sit undisturbed until a rich, golden-brown crust forms before flipping it.
To ensure the meat stays juicy, use a meat thermometer to check the internal temperature and avoid overcooking. After searing, let the meat rest for a few minutes. This allows the juices to redistribute, giving you tender, flavourful results. By following these steps, you can fully appreciate the taste and texture that cultivated meat has to offer.